
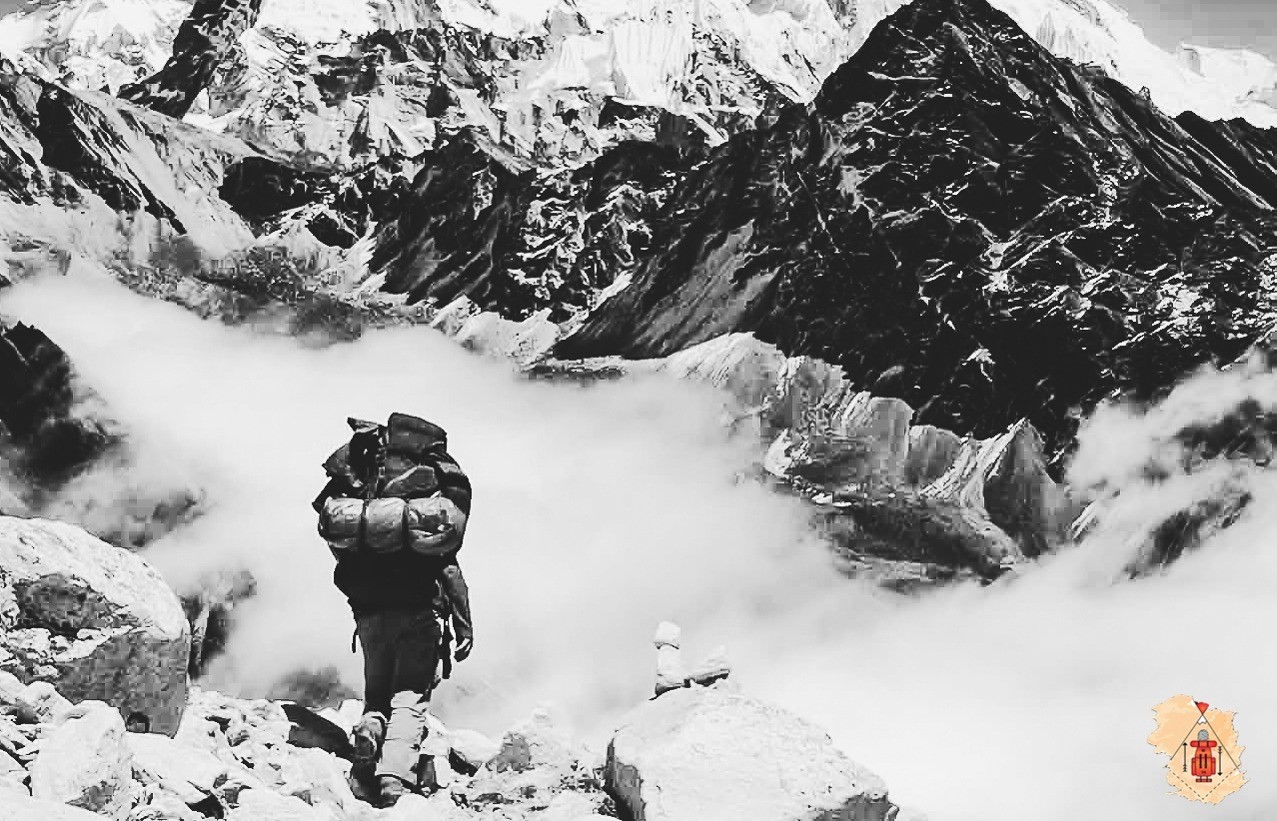
Borasu Pass Trek: Trek to the rarely explored regions of Uttarakhand
When we think of treks towards the region of North India, our minds instantly start racing through the paths spread out in Himachal Pradesh and Uttarakhand, two states we know that will offer us snow-capped peaks in the higher treks and even the lower ones be sure to please us with their fresh mountain air. However, what is I told you that there exists a trek when you can cross through both states? A trek where you start from the side of one but even so end up going and greeting its pretty neighbour as well? Ah my trekking lovers, busy bookmarking the treks to take next, meet a trek that you may want to keep a note of, Borasu Pass. Once an ancient trade route today it serves to allow mountain lovers commence their trek from Tons Valley in Uttarakhand and then crossing over to Himachal through this high-altitude pass. Incidentally, this trade route was from none other than Har Ki Dun to Kinnaur Valley. Yesss, so this trek is actually an extension of the trail that leads one to the popular Har Ki Dun trek. Along the way, dense forests, streams and scenic views readily turn up to keep you company.
How to reach: Fly down to Dehradun or take a train till there. From Dehradun either catch a local bus or taxi or even book one yourself in order to reach Sankri which is approximately 185kms from the city.
Best time to trek/visit: May to June, late September to October
Duration: 9 days
Difficulty: Difficult
Altitude: 5,360 m
Trek route: The route will of course depend on what you decide with your local trekking guide, but possible options include:
Sankri – Taluka – Seema – Har Ki Dun – Ratha Tho via Morinda Tal – Saunbhera – Borasu Pass Base Camp – Bonga via Borasu Pass – Chitkul
Day 1: Arrive in Sankri
Altitude – 1,920 m
Approximate Distance – 185 kms (From Dehradun)
Your week of adventure starts off with you first arriving at Dehradun. The city is well-connected by railways and flights too from the major cities. After arriving you need to make your way to Sankri. The small town of Sankri is a hub for trekkers as different trails start off from here, so, you can opt for a local bus or taxi to reach here. However, since season and frequency can also play a factor, it is better to make preparations for the same beforehand.
Day 2: Sankri to Taluka (by vehicle), Taluka to Seema (by trekking)
Altitude – 2,200 m
Approximate Distance – 12kms by drive, 12kms of trek
Day 2 needs you to first travel by road to reach Taluka, so, pack away in a car for the last time for the next few days! After the short drive, you reach your trek starting point which is Taluka. From there you shall start to make your way to the village that goes by the name of Seema. Joining you on the very first day of your trek are dense forests and drooping trees of walnuts, chestnuts, conifers and more! Along the way you will even be joined by the chilly and gushing stream of Karmanasha. Then you cross over to Gangaar village and eventually, reach Seema by early evening.
Day 3: Seema to Har Ki Dun
Altitude – 3,510 m
Approximate Distance – 14.5kms
You are headed to Har Ki Dun for which nature lovers from India and beyond come annually to trek up to it and see its beauty. Your trek at first has you passing through fields and then you shall find yourself on a hanging bridge with river Rupin roaring below in a welcoming hoot! Thereafter, you will be passing quaint pastures decked with simple huts surrounded by a valley blessed with natural greens and specks of other shades too seasonally. After arriving at the ridge of Kalakatti Dhar, you shall be led to your first glimpse of the magnificent Har Ki Dun. Take in the views of the peaks of Har Ki Dun along with Swaroghini. As you gaze at the view, let your mind transcend into the mythological stories that hail from here, from the one with Yudhisthira’s journey to heaven to that fateful visit of Lord Shiva. Since the lord also holds the name of “Har”, the area came to named after him, Har Ki Dun, i.e., Valley of Gods. So, take in all the godliness from the folklores to the views.

Day 4: Har Ki Dun to Ratho Tho via Morinda Tal
Altitude – 4,200 m
Approximate Distance – 6kms
This day your adventure picks up a notch as you push for a point further. With the peaks in hindsight, it is now time for the boulders to come out in massive forms to meet you. Make your way through them to reach the icy yet oh so dreamy glacial lake called Morinda. After letting yourself be immersed in its waves for a while, you shall make your move to pas through a gushing green meadow that takes you to Ratho Tho.
Day 5: Ratho Tho to Saunbhera
Now, the trek mentioned for day 5 is actually a pretty short one. Some people do prefer to push through and make it to the base camp already but if you wish to rest your body and spend sometime in this mountainous valley, how about just letting yourself tread from a trail at a laidback pace? Play around with the streams, converse with the landscapes and make merry with the meadows, this day is all about rejuvenating your body and enjoying your time in the place you have zealously made it to!
Day 6: Saunbhera to Borasu Base Camp
Altitude – 4,900 m
Approximate Distance – 4kms
This is going to be an extremely exciting day because you shall make way to the Borasu Base Camp! The trek is again a relatively shorter one, so, take your time and enjoy it all as you make your way. And, hey, can you spot the Lamjunga? So, you shall be crossing the lower Lamjunga and then camp out at Upper Lamjunga. The term means “long moustache” in the local language. How did this name to be? Well, the answer lays in a ridge that you be trekking through as the lower part is said to resemble a long moustache. So, let’s see if you can spot it! After arriving iat the base camp, share your excitement with your fellow trekkers as tomorrow is when you finally get to make it to the pass!

Day 7: Borasu Pass Camp to Bonga via Borasu Pass
Altitude – Bonga (4,000 m), Borasu Pass (5,360 m)
Approximate Distance – 12kms
The D-Day has arrived as you shall be heading over to Borasu Pass! Start as early as possible because the morning Sun glistens that much more beautifully over the snowclad peaks. Observe the zig zag streams coming trickling down far below. You will cross over the Zupica glacier and your heart will start pumping with anticipation! The thin ice of the glacier, the tall and formidable might of the surrounding peaks, the snowfield that you step through; just take time to completely let your inner mountain kid soak in that view, it’s what you’d been so dearly waiting for.
Day 8: Bonga to Chitkul
Altitude – 3,430 m
Approximate Distance – 14kms
Your descent has you taking a long yet gorgeous route. Now that the pass has had you set foot into Himachal, why not take it up further? Your trek’s last day has you descending and making way to the charming little village of Chitkul. Make sure to roam about and feel the local air before you bid farewell the next day.
Day 9: Departure for home city from Chitkul
And, the last day has come and you must return home. Hopefully, you’ll be returning home with a truckload of memories.

Which other treks can you recollect that have one crossing over to another state?